Requirements
The OpenVPN Config Generator is only available for paid Windscribe accounts.
Preparation for the OpenVPN Client
First you'll need to find your OpenVPN version. Open a terminal and run openvpn --version. The version number will be in the first line.
coreyklass@my-server:~$ openvpn --version
OpenVPN 2.6.14 aarch64-unknown-linux-gnu [SSL (OpenSSL)] [LZO] [LZ4] [EPOLL] [PKCS11] [MH/PKTINFO] [AEAD] [DCO]
If the command isn't found, you'll need to install OpenVPN.
sudo apt install openvpn
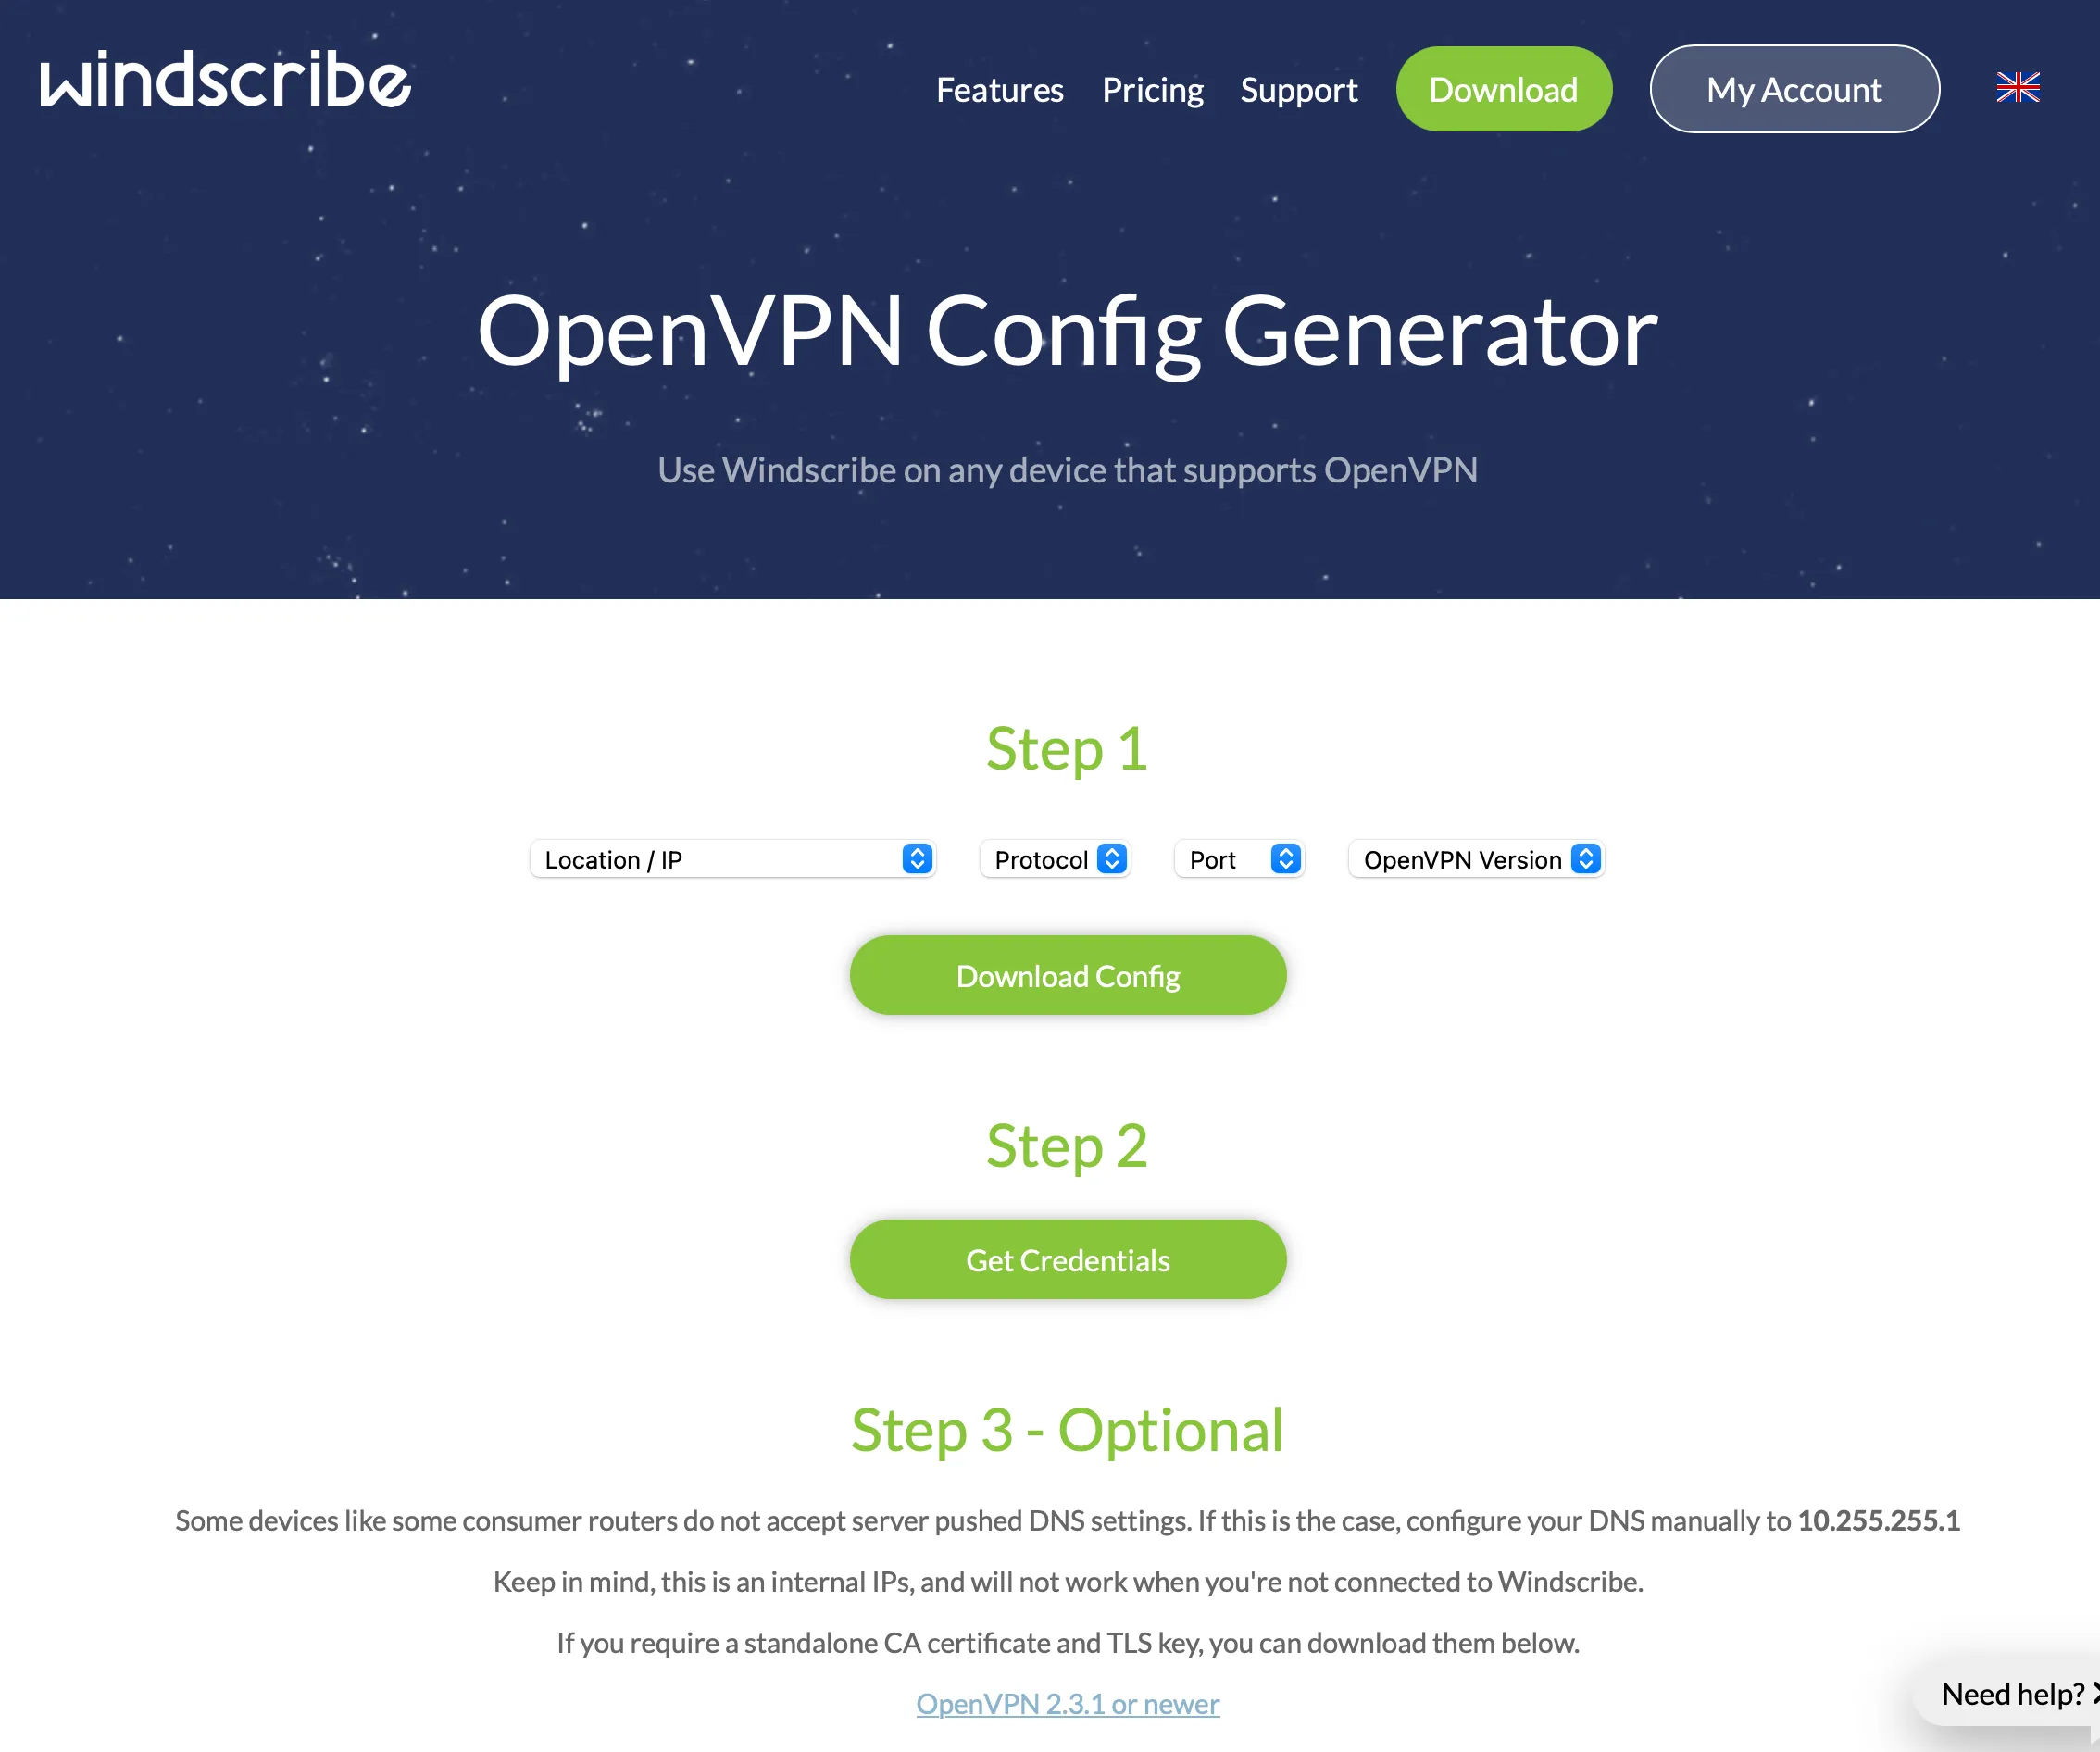
Visit the Windscribe website and log into your account. Then head over to the Windscribe OpenVPN Config Generator.
NOTE: The OpenVPN settings will vary depending on your situation, so you may need to adjust them from what I'm showing here.

In the Location/IP dropdown, select the location you want to connect to. In the Protocol dropdown, select UDP. In the Port dropdown, select 443. From the OpenVPN Version dropdown, select the version you found above. The click Download Config. Your browser will download a file with a .ovpn extension.` DO NOT CLOSE THE BROWSER WINDOW YET, we'll need to get the credentials from it.
On your Linux server, create a new directory for the OpenVPN config files:
sudo mkdir /opt/windscribe
Copy the downloaded file to the new directory. Or, copy and paste the contents of the file into a new file in the directory. For our purposes, we'll call the file windscribe.ovpn.
On the WindScribe OpenVPN Config Generator page, which you should still have open, click the Get Credentials button. You'll be presented with a username and password to use for your connection.

We'll create a new file on your Linux server to store the credentials.
sudo nano /opt/windscribe/auth.conf
The only contents of the file are the username and password you received from the WindScribe OpenVPN Config Generator page, each on a separate line. So if the web page looks like this:
username: 9dsafsadf-weriowef
password: 23orisjdlfas
Then the file contents should look like this:
9dsafsadf-weriowef
23orisjdlfas
Press CTRL+X to exit the editor, then press Y to save the file.` We now need to change the permissions on the file so that only the root user can read it.
sudo chmod 400 /opt/windscribe/auth.conf
Now we'll create a BASH script to run the OpenVPN client.
sudo nano /opt/windscribe/run-windscribe.sh
Paste the following into the file. The script is written so that if the OpenVPN client crashes or disconnects, it will pause for 10 seconds and try to reconnect.
#!/bin/bash

while [[ 1 == 1 ]]; do
    openvpn --config /opt/windscribe/windscribe.ovpn --auth-user-pass /opt/windscribe/auth.conf
    sleep 10
done
You can try to run the script at this point by typing:
sudo /opt/windscribe/run-windscribe.sh
If everything has been configured properly, you should see the OpenVPN client connect to the VPN. You can press CTRL-C to disconnect and stop the script. You may need to press it a few times quickly to get it to stop.
Setting up a Service to Run the OpenVPN Client
If you want the OpenVPN client to run automatically when the server boots, you can create a service to run it. Create a new file for the service installation:
sudo nano /etc/systemd/system/windscribe.service
Paste the following into the file:
[Unit]
Description=Starts the Windscribe VPN
Requires=network.target
After=network.target

[Service]
Type=simple
ExecStart=/opt/windscribe/windscribe-connect.sh

[Install]
WantedBy=multi-user.target
Now we can try starting the service to verify it works.
sudo systemctl start windscribe
sudo systemctl status windscribe
If everything is working, you should see the service loaded and active.
windscribe.service - Starts the Windscribe VPN
Loaded: loaded (/etc/systemd/system/windscribe.service; enabled; preset: e>
Active: active (running) since Tue 2025-09-16 22:30:39 UTC; 2h 26min ago
We now can configure the service to run automatically when the server boots.
sudo systemctl enable windscribe
The service should now run automatically when the server boots.

